Your opportunity has its own page, but volunteers need a way to find it. On this page you put the opportunities list on a public page, sign up for a shift the way a volunteer would, and see everything a signup produces: an on-screen confirmation, a confirmation email, and a record in your admin.
Put opportunities on a page
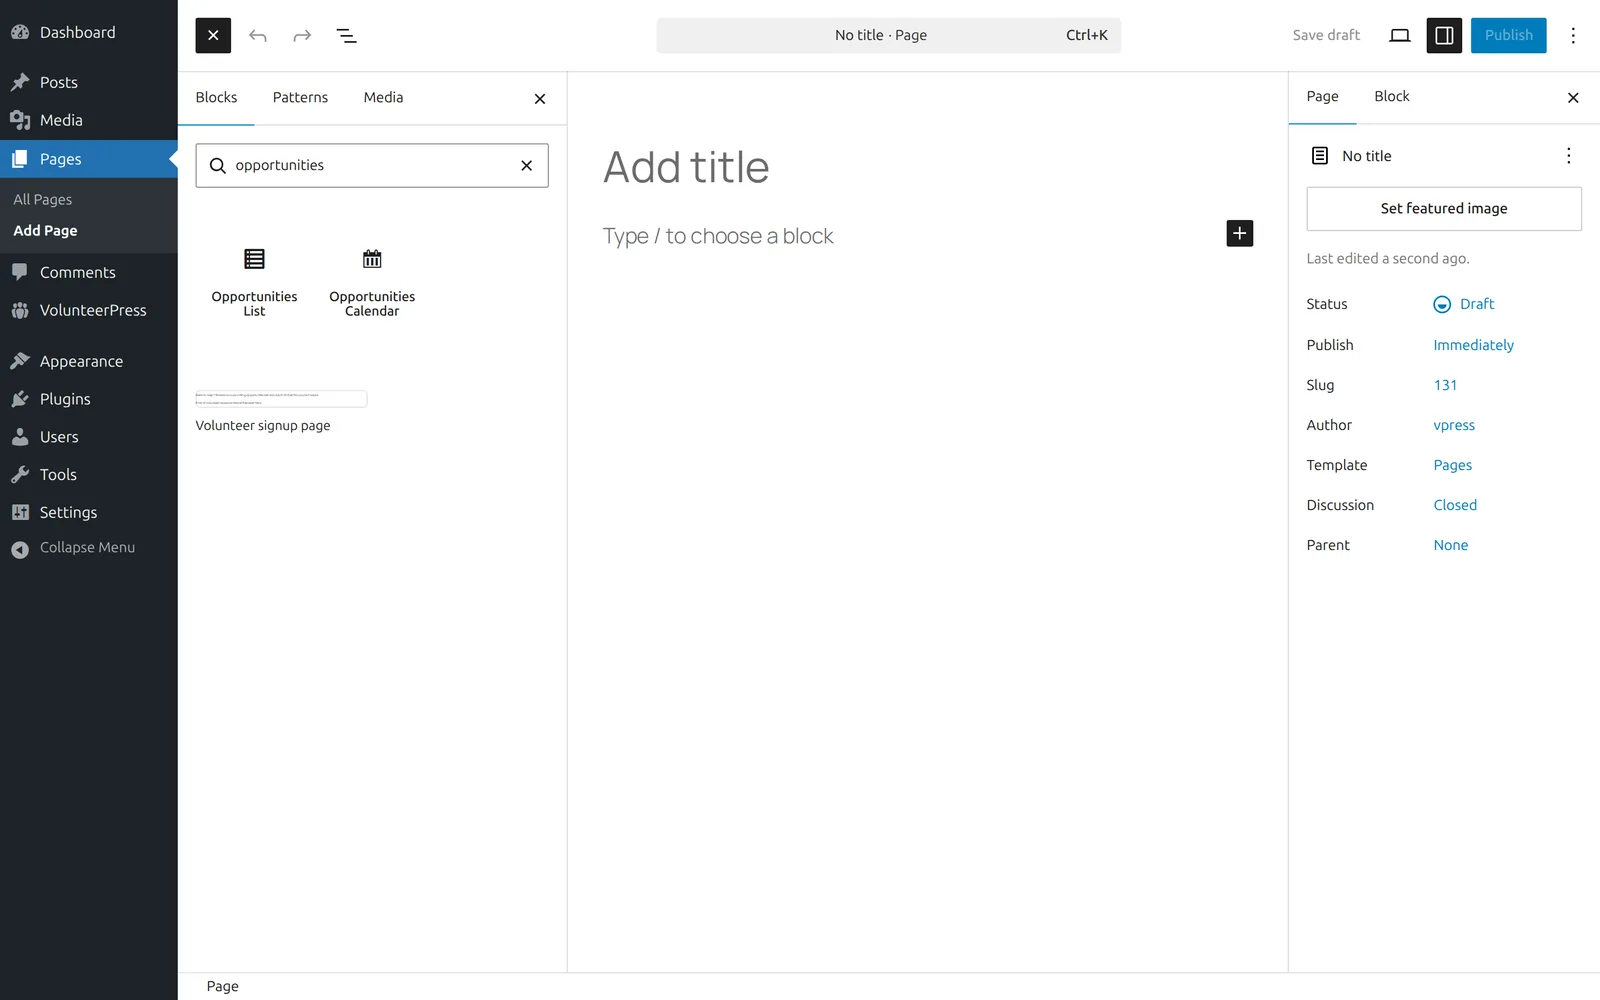
- Go to Pages → Add New and title the page — “Volunteer with us” is typical.
- In the editor, select the + block inserter and search for “opportunities”. Choose Opportunities List from the VolunteerPress section.
- Publish the page, and add it to your site’s menu the way you would any other page.
The block lists every published opportunity with its upcoming shifts — including the one you just made. (There is also an Opportunities Calendar block; see The calendar.)
Sign up as a volunteer
- Open the new page in a private (incognito) browser window, so you see the site as a visitor rather than a logged-in administrator.
- Select your opportunity, then Sign up on the first shift.
- The form asks for a first name, last name, email, and an optional phone number. Enter an email address you can check.
- Select Sign up.
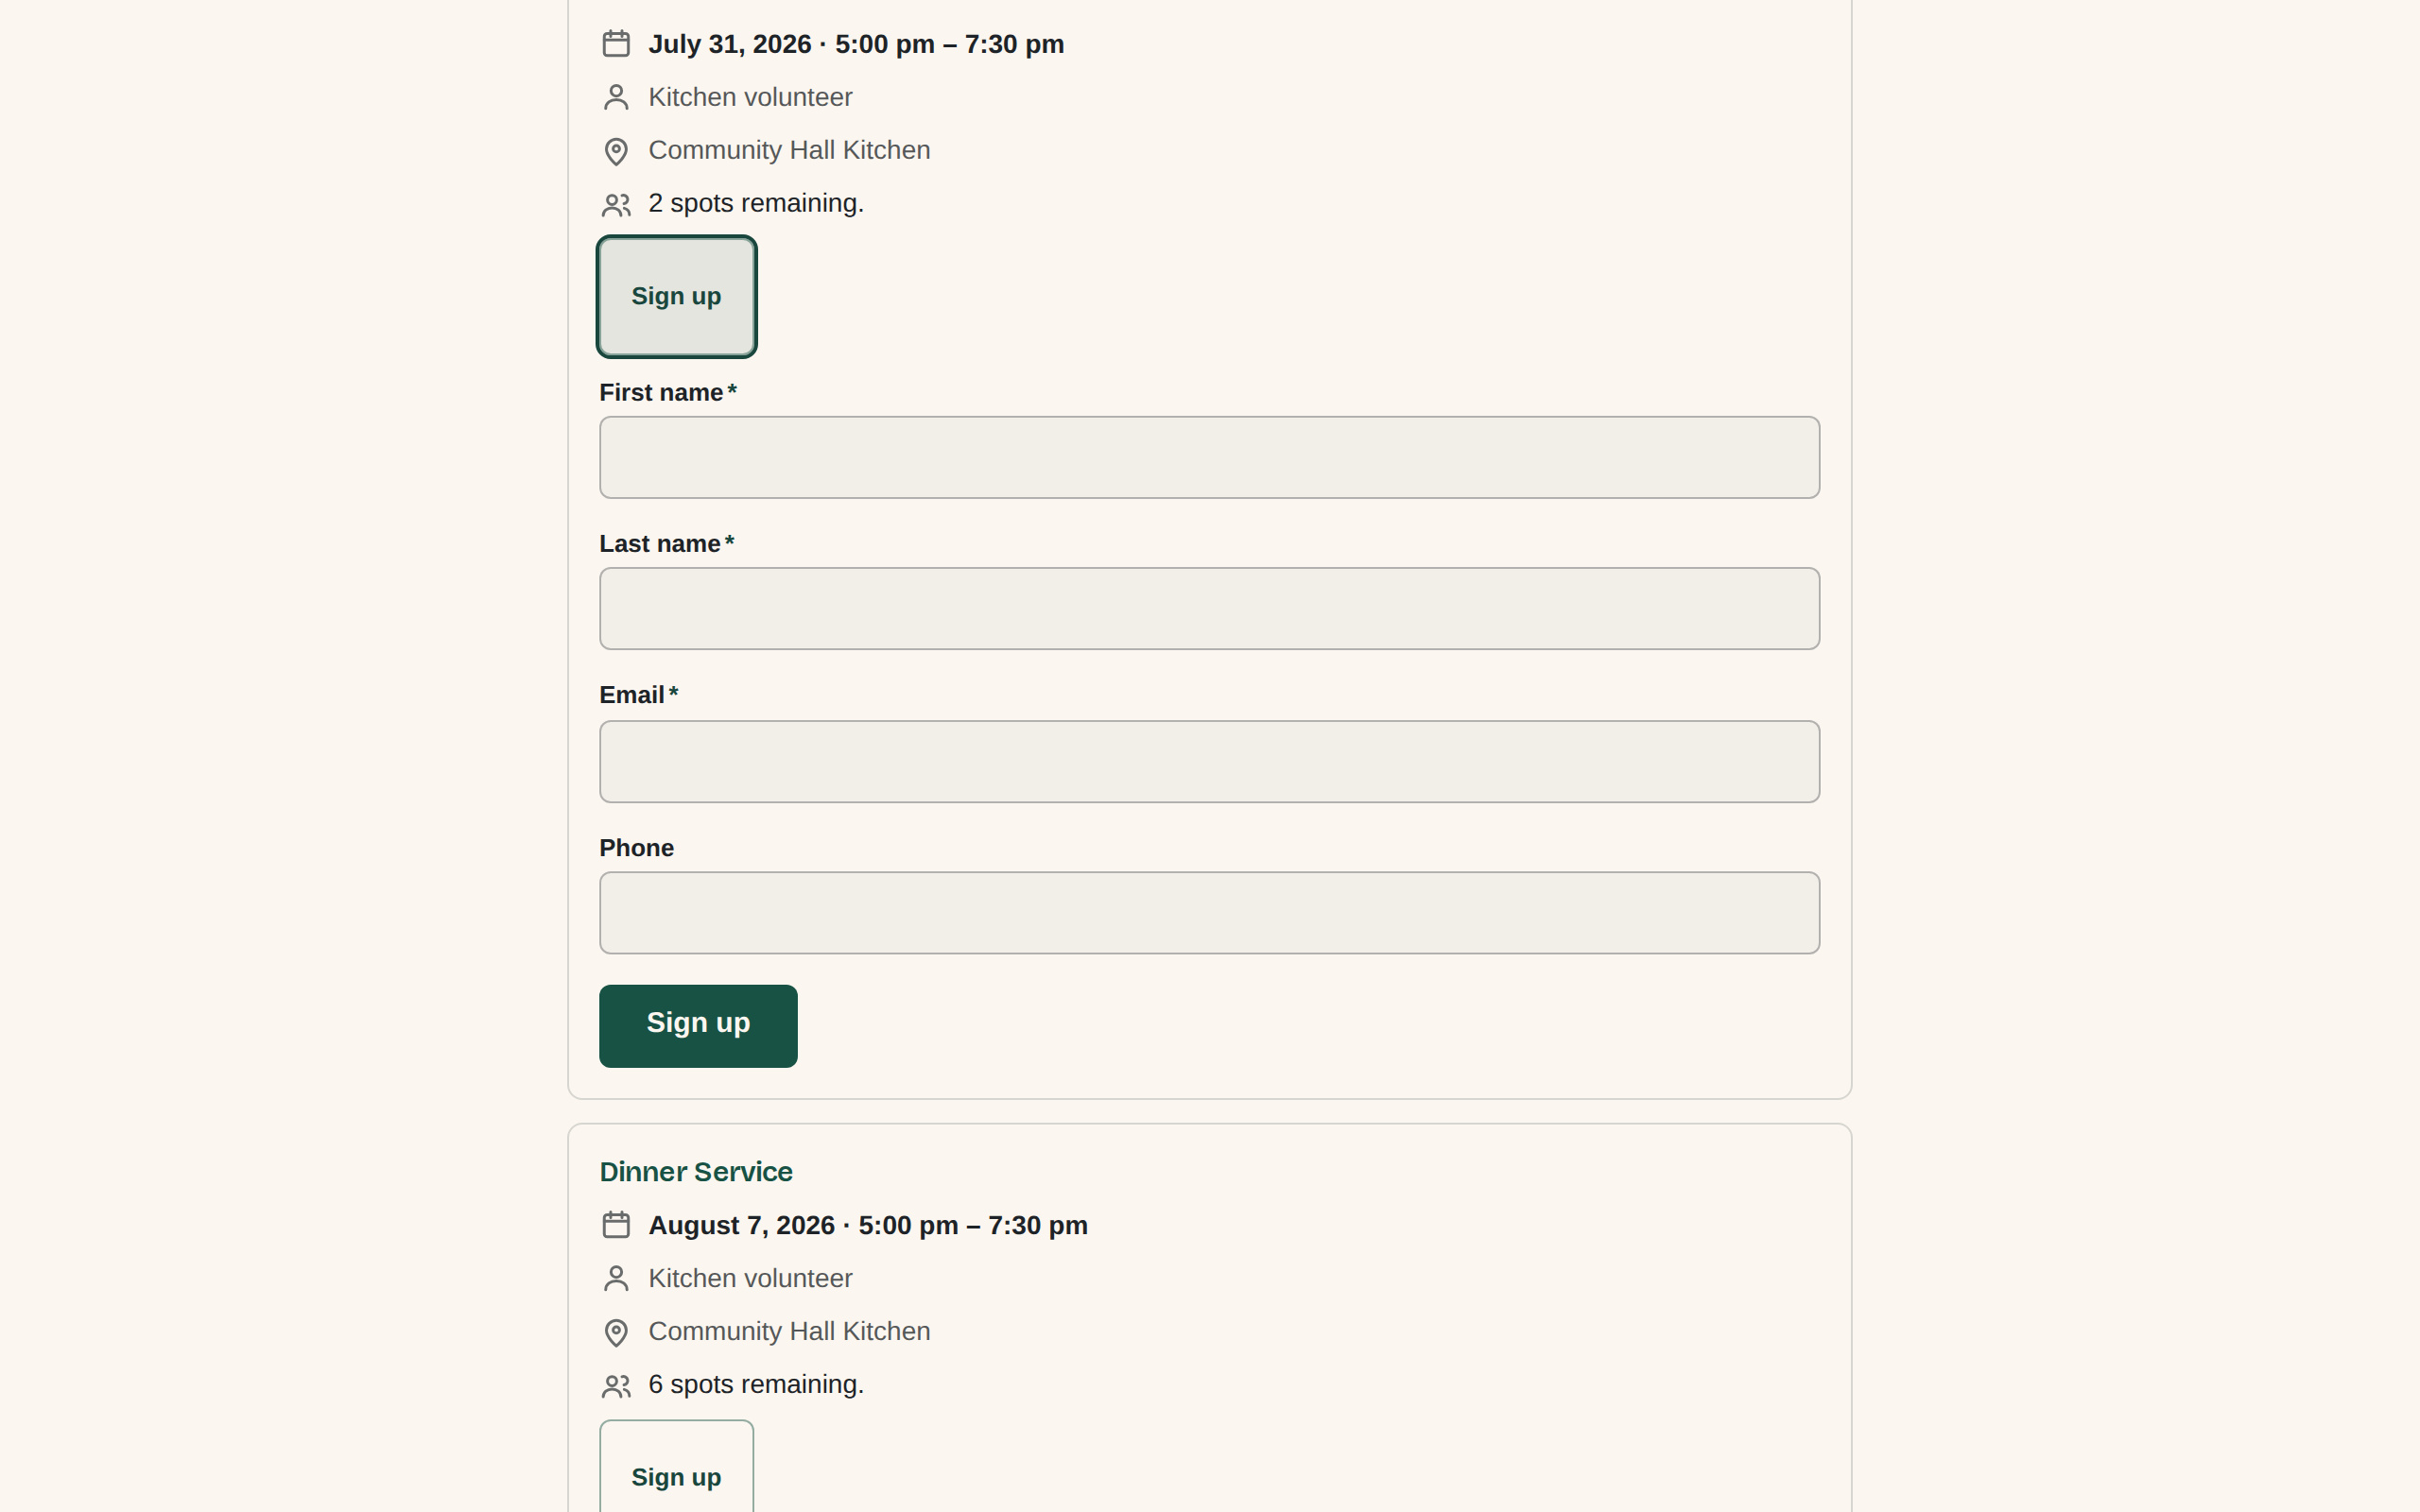
You will see the form replaced by a confirmation — “You’re signed up.” — and the shift’s spots-remaining count drop by one.
The confirmation email
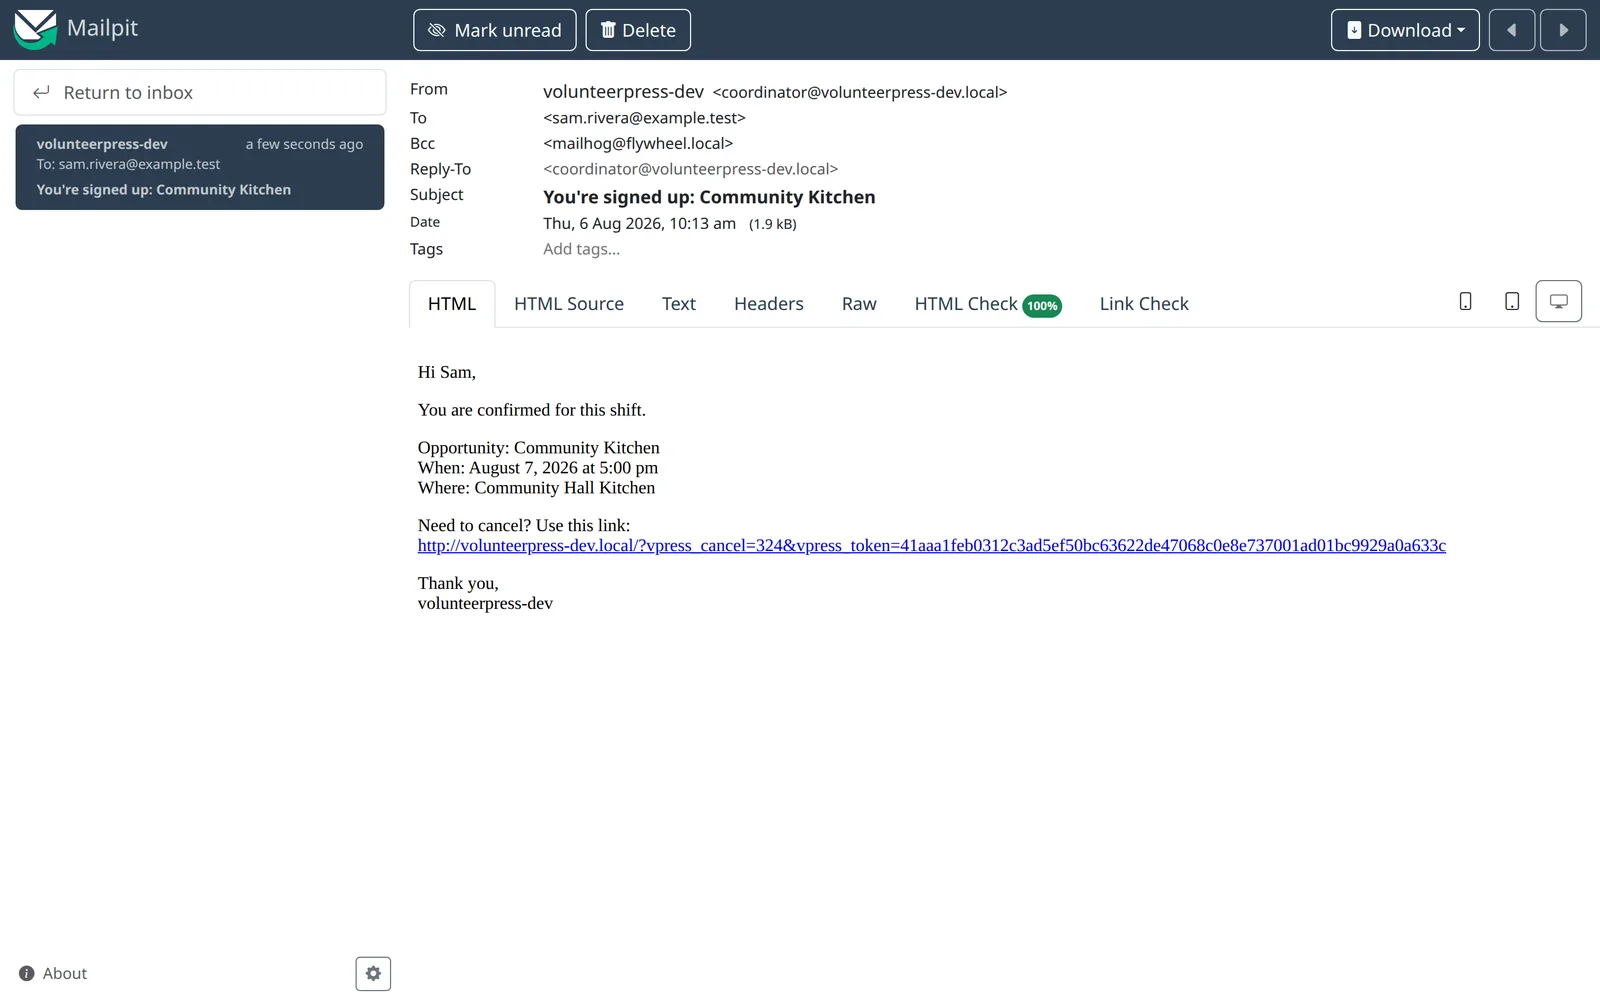
Check the inbox you entered. Within a few minutes you will receive an email with the subject “You’re signed up: Community Kitchen” (your opportunity’s name), containing the shift’s date and time. Volunteers receive one of these for every signup, and a reminder email before the shift starts.
If the email is not there, look in your spam folder. Email delivery is the most common WordPress setup problem — Emails go to spam or never arrive has the fix, and it is part of the recommended setup.
Find the signup in your admin
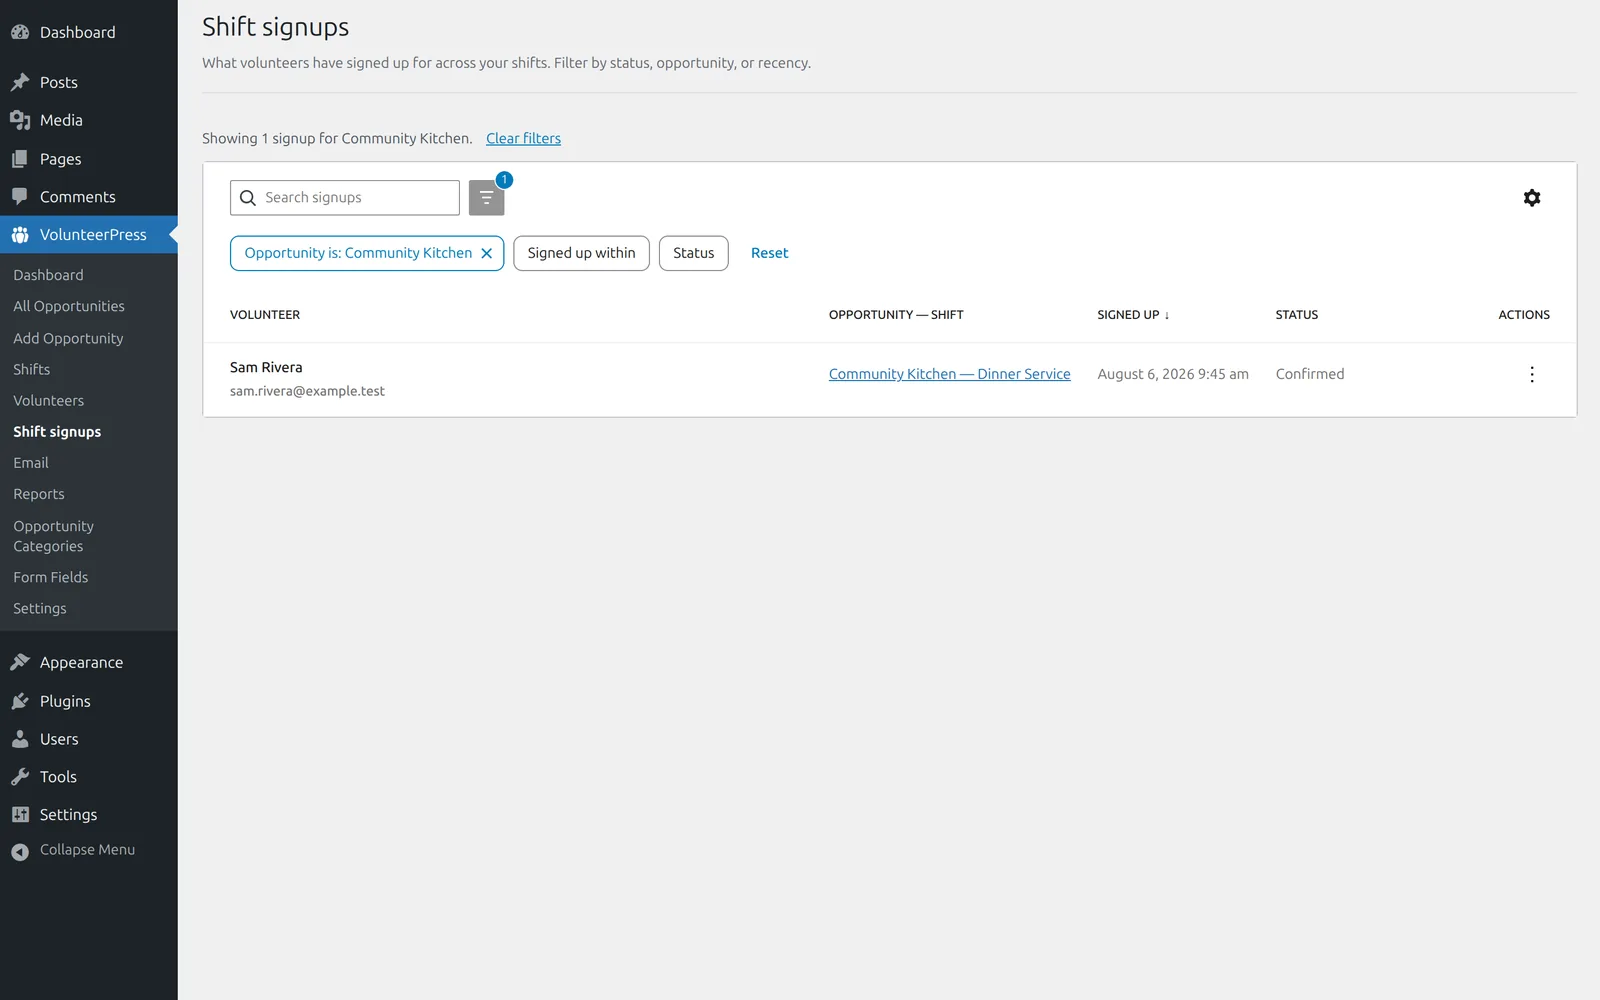
Back in your WordPress admin, go to VolunteerPress → Shift signups. You will see one row: the name you entered, the shift you chose, when the signup happened, and the status Confirmed. As signups accumulate, this table filters by opportunity, status, and recency. The volunteer also now appears under VolunteerPress → Volunteers, where their history collects.
You now have a working volunteer program.
Next: Recommended setup — three short checks before you invite real volunteers.